Calibration Overview
3D Printer calibration is critical to 3D printing accuracy. These calculators and resources will allow you to calibrate your printer for optimal results.
Steps per milimeter
The steps per millimeter (steps/mm) calculation is used to calibrate the X, Y, Z and E axis of your 3D printer. This same calculation is used regardless of the axis. The process is to have a known target you are trying to reach and then measure the actual value. The calculator will then adjust your steps/mm based on the measured value to provide a new value which will match the target value.
M503 G-Code will reveal the M92 values. Use your existing X/Y/Z/E value for this field.
M92 X80.40 for the X axis. Be sure to then save your configuration in Marlin with M500.
Flow Compensation
Flow compensation is used to compensate for the expansion of the filament being pressed against the layer underneath. Use this calculator correct for the expansion of the filament by adjusting the flow rate.
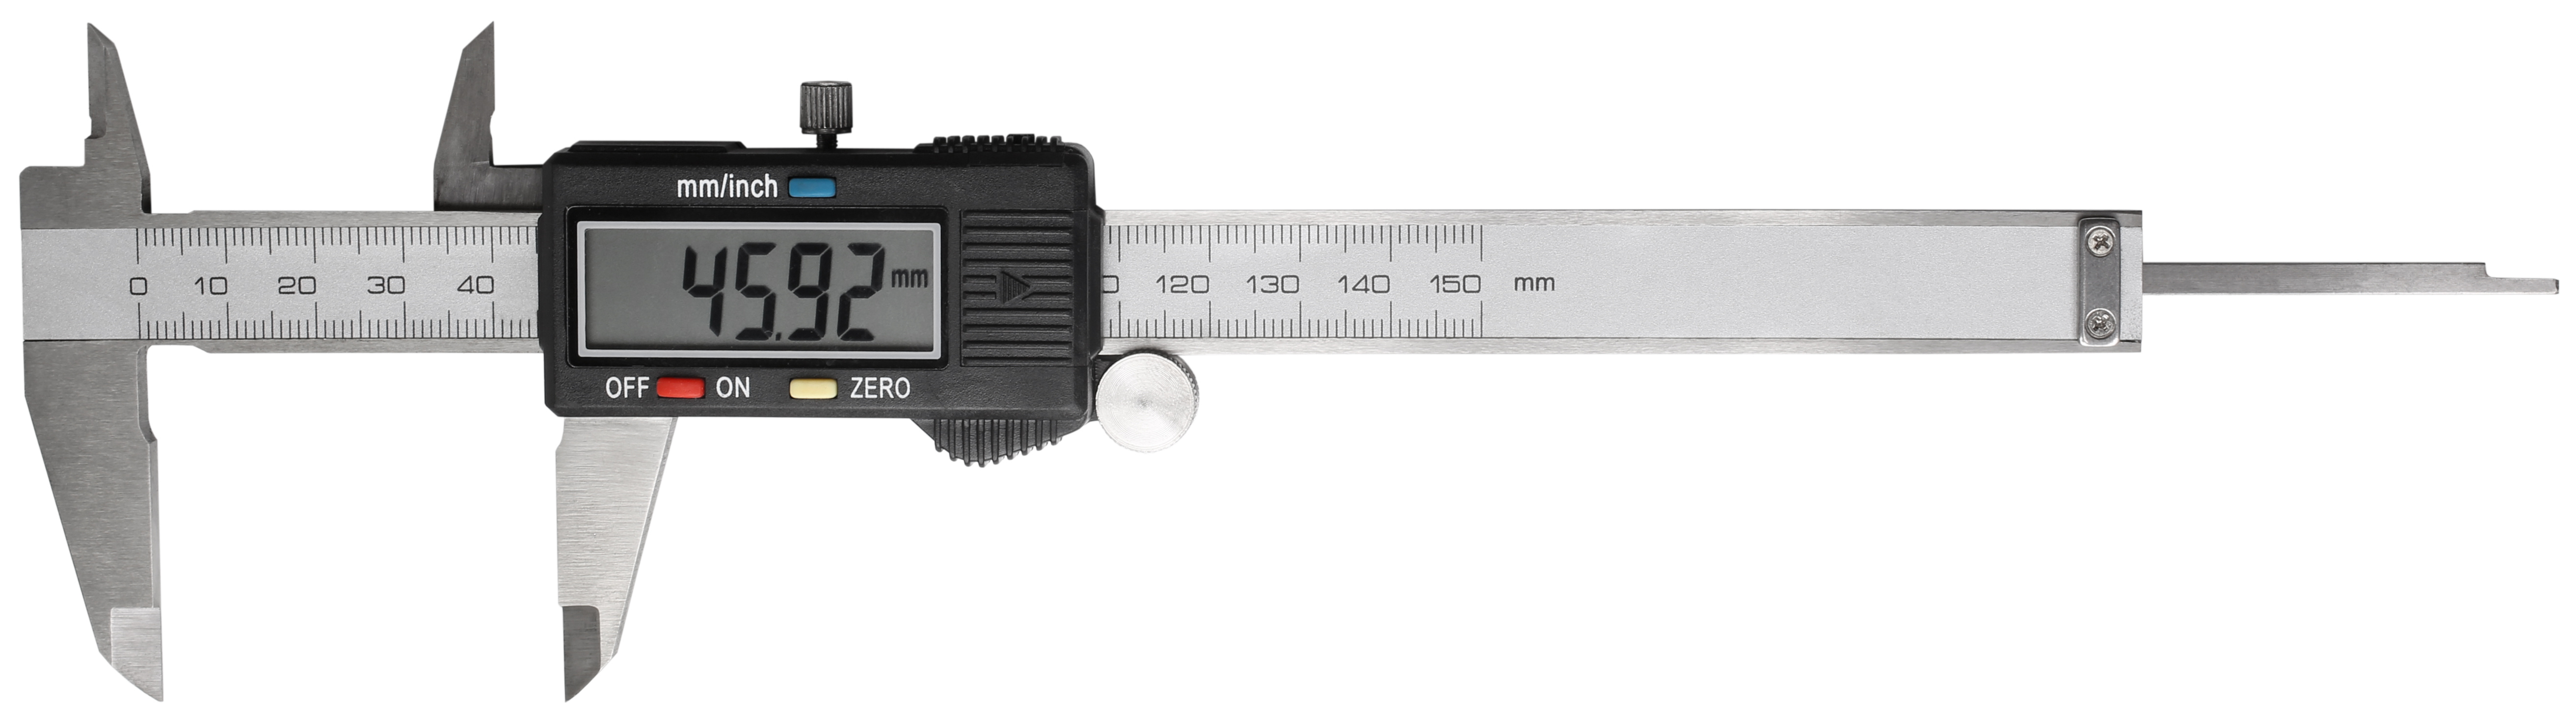
To use this calculator print a 20mm x 20mm x 20mm cube in vase mode and then measure the top 5 layers with your caliper. Measure near the center of the cube not near the edges. Enter the values below to see
how you can adjust your flow compensation to produce the properly sized line width of extruded material.
Note that flow compensation can differ based on material.
Startup GCode Generator
The startup code generator creates startup GCode for your 3D Printer. Simply copy and paste the output into your slicers startup gcode settings and you're done.
You can enable a number of features including Bed Leveling, Nozzle Purge and Wipe, Sound Alerts and more.
Printer
Options
This feature allows you to turn off things like a "Skirt" or purge line that takes up more space on your bed.
Landing Strip Size 15mm X 40mm.
This feature only works on a rectangular print bed.
[See this in action]